Cutting a slice from an agarose gel in order to size select DNA or to isolate a PCR product etc. is standard practice in lab genetics. This post is about how I do it in our lab, (as of Feb 2012).
There are three features of my current method that may be unfamiliar to you even if you’ve done this sort of thing before:
- The Dark Reader transilluminator.
- SYBR-Gold.
- Sigma X-Tracta gel punches.
Dark Reader
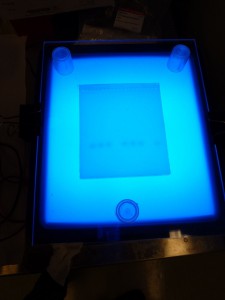
The Dark Reader is simply a transilluminator that uses blue light instead of UV light. The key feature of this is that its just blue light. Blue light is harmless, or at least not severely harmful like UV. Almost as importantly, blue light is also harmless to DNA. The beauty of this is that you don’t have to worry about exposing your eyes, face and hands to UV light and you don’t have to work quickly, as you do with UV if you don’t want it to destroy the DNA you are working with.
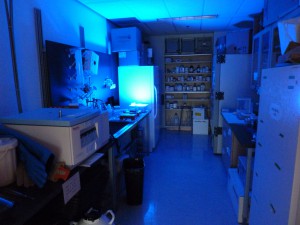
We have a Dark Reader. It is currently (Feb 2012) in the support room off our lab where our freezers, balance and liquid N are.
You can see the distributor’s web page about it here.
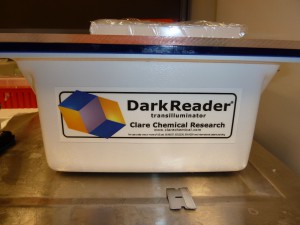
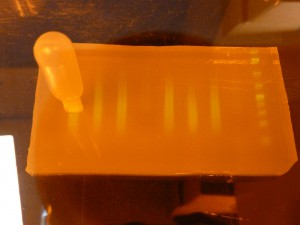
In the side-view image above you can see that I’ve clamped a rectangle of clear perspex to the top of the Dark Reader to protect it from blades.
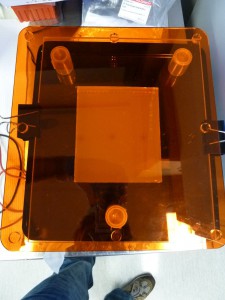
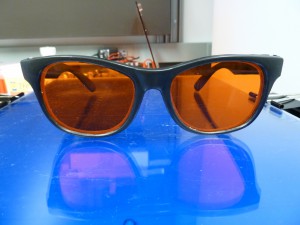
To visualise DNA in an agarose gel on the Dark Reader you need to stain it with a dye that fluoresces under blue light. Apparently ethidium bromide is such a dye but I have opted for the more expensive but better SYBR-Gold, see below. You also need to filter the overwhelmingly bright blue light out of what you are looking at. The Dark Reader comes with a simple rectangular perspex orange filter. Alternatively, you can wear a pair of glasses with orange lenses – you should be able to find these near the Dark Reader.
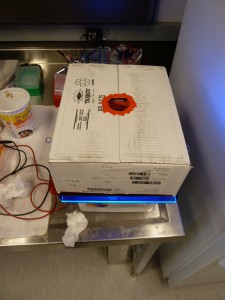
To take photos of gels on the dark reader you can use my carefully crafted “geldoc”.
Its pretty obvious what to do – get a digital camera, poke its lens through the hole in the box, focus and click. Note that you need the orange filter staged over your gel – I use three plastic test tube lids as a stand. Note also, you may need to turn off the camera’s flash – if you leave it on the camera will expose as if the flash will illuminate the subject but it won’t. There may also be some camera modes that work better than others.
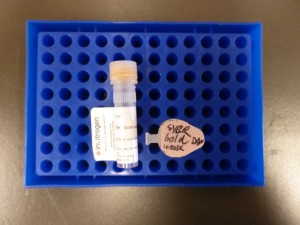
SYBR-Gold
SYBR-Gold is a DNA staining dye that fluoresces strongly when excited by blue light. Obviously this means it works well with the Dark Reader. The manufacturers of SYBR dyes imply that they are safer than ethidium bromide but the bottom line is that they are still molecules that bind to DNA and, as such, are potential carcinogens. (Note that the danger of EtBr is easy to overstate and that, while EtBr may be more mutagenic, the SYBR dyes are actually more toxic.) I’m not nervous about working with SYBR-Gold but I do wear gloves.
The two more important facts in a comparison of EtBr and SYBR-Gold are these: EtBr is much cheaper but SYBR-Gold is much better – SYBR gold fluoresces so brightly that you can see very little DNA stained with it. In fact, according to Invitrogen, SYBR-Gold is the most sensitive DNA stain on the market (and that includes EtBr). SYBR-Gold is not that expensive either. As of Feb 2012 Invitrogen is selling 500ul of 10000X solution in DMSO for $150. Using my current post-staining method (see below) that 500ul is enough to stain 125 20-lane gels, so 2500 lanes.
You can see Invitrogen’s product page for SYBR-Gold here.
Invitrogen’s documents about SYBR-Gold are actually useful. Here is their protocol. And here is some further information.
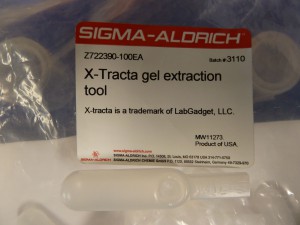
X-Tracta gel punches
These are simple little disposable plastic gel punches. The appealing thing about these is that they are quick and easy to use and they take the same sized gel slice every time. If that size suits you then you’re set, otherwise you will have to find an alternative or punch the gel more than once or go back to the good old razor blade.
You can see the distributor’s product page for them here.
What I do
Note that I like post-staining size selection gels, i.e. running the gel without a DNA dye in the gel then staining the gel by soaking it in a stain afterwards. You don’t have to do it this way of course.
- Make a gel WITHOUT A DNA STAIN, i.e. without EtBr or SYBR_Gold. I use 1.5% or 2% agarose gels for size selection. Think carefully about the size of the wells and the volume you want to load. You might need to make a thicker gel than you normally do or to use a different comb. Or, you might want to split samples into more than a single well.
- Load the gel.
- Load the samples slowly and carefully. Use two pulls on a small pipette if necessary. Your tolerance for spillage is probably less than for an ordinary gel.
- Leave an empty lane between each sample and ladder. Loading every second lane minimizes cross contamination of samples from spills at loading or from the gel-slices themselves.
- If I’m running more than a few samples, I load two ladders flanking the sample lanes and one in the middle. This helps me take uneven migration across the gel into account.
- I also load one or two ladders with SYBR-Gold added directly to them into one or two outside lanes. These ladders will be visible before the post-staining step (see below) and I use them to check that I’ve run the gel roughly as far as I want before staining it and as guides when I trim the gel before staining, (so I don’t have to stain the whole gel when I’m only interested in a bit of it). Note that these ladders will not run the same distance as the unstained ladders and samples! The SYBR-Gold bound to the DNA slows its migration through the gel. In a 2% gel run in 1XTAE for 90mins at 120V the SYBR-Gold stained ladder runs approximately 100bp slow – so the 500bp band actually marks 600bp in the unstained samples. To make these ladders I keep a tube of our standard Fermentas GeneRuler ladder without any loading dye in it and add 2ul of this to 16ul of water and 2ul of 10X loading dye with SYBR-Gold in it at 100X. So, the SYBR-Gold is at 10X in the loaded volume (20ul) which is a bit over the top.
- Run the gel. I run size selection gels for WGS sequencing library preparations for 90 minutes at 120V in 1XTAE buffer. These gels are 100ml or 120ml volumes and I use the orange medium sized gel tanks.
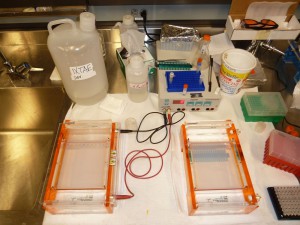
- Note that, if you are doing anything remotely delicate, you don’t want to run the gel any hotter (faster) than you have to as you want the samples and ladders to run as straight as possible. If you are running a gel to isolate a PCR product you need to run it long enough to separate the band you are interested in from others.
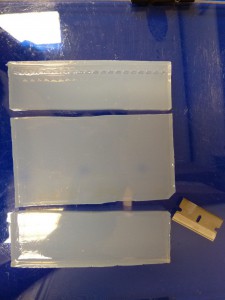
- On to the Dark Reader. Use the the SYBR-Gold stained ladder(s) to check that they have run as far as you expected and to trim off the top and bottom of the gel so that you have just a section of the gel that includes the size range you are interested in. If you cut the wells off (I do) its a good idea to mark the piece of gel in such a way that the orientation is obvious – I cut the bottom right hand corner off.
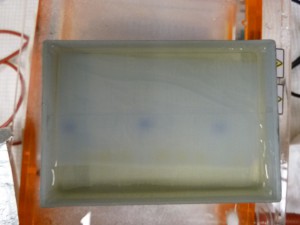
- Make a 1X solution of SYBR-Gold in a suitable volume of the buffer that the gel is made with – 1XTAE in my case – note that a smaller volume is more economical than a larger volume. For my WGS sequencing size selection gels, I add 4ul (or sometimes I deliberately overdo it and add 5-6ul) of 10000X SYBR-Gold to 40mls of 1XTAE. Make the stain in the container you will do the staining in. I use the clear plastic lid from a 96-well PCR plate rack. Note that its best to keep the stain dark so I have covered a couple of the rack lids with duct tape. Pour the buffer into the container then add the SYBR-Gold then mix it well. The SYBR-Gold sticks to plastic so use the same container over and over again – a fresh container will absorb more of the stain. If you are doing multiple gels in succession over a day or two don’t make fresh stain up for each one, just add a little buffer and give the SYBR-Gold a bump for each gel – a few ml of buffer and a few ul of SYBR-Gold.
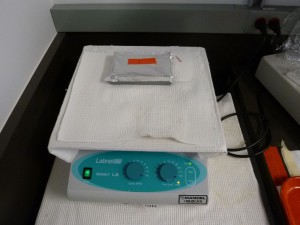
- Put the gel into the stain, cover the container with something light-proof, like aluminium foil, and put the container on an orbital shaking table. There is a suitable shaking table in the gel electrophoresis area.
- Leave the gel to stain for 30 minutes or more. I often leave gels for 60 minutes or more. You won’t see appreciable diffusion of DNA in a 2% gel over that sort of period (you could leave it for hours). If the gel sinks down and sits of the bottom of the staining container most of the staining will be from SYBR-Gold diffusing into the gel from the top. You can boost the staining by either putting the gel into the stain upside down (most of the DNA is at the bottom of the gel because it sinks when you load it), or by starting the staining with the gel right side up then flipping it over part way through. Note that its very important that you can tell what the orientation of the gel is if you do things like flip it over – think about it. For this reason I cut the bottom right corner off the gel if I cut off the wells (the wells work for orientation but I often cut the top of the gel off).
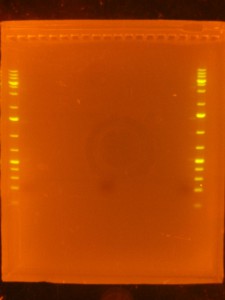
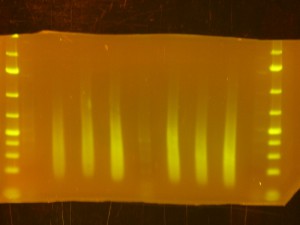
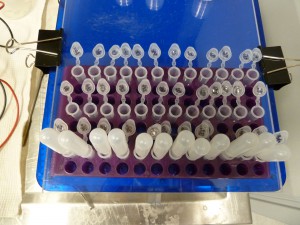
- Back to the Dark Reader. I like to take a before and after photo of the gel so I take a photo now, before cutting anything out. I have a cardboard box with a hole cut into the middle of it for a camera lens that I put on top of the orange filter to form a “geldoc” for the Dark Reader. So, after the photo, I put the orange filter glasses on and use the X-Tracta punches to punch out the size or fragments that I want. Note that if you can’t see the ladders or samples easily, turning the lights off in the room helps. Note that its a good idea to have eppies labeled and ready for the gel slices.
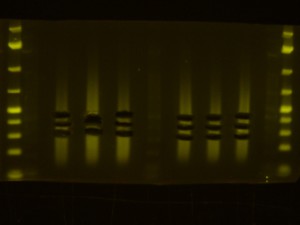
- I take an after photo so I have a record of what I cut out of the gel.
- I use Zymo Research Gel DNA Recovery Kit columns to extract the DNA from gel slices.
Dan E.

