This post is intended to give a few more details on the hydroponics rigs that I constructed, and am currently testing with Greg O. I built these rigs in collaboration with John Gourlay (jgourlay@mail.ubc.ca), who is a technician in the Botany Department workshop (room 1363; directly underneath the room that houses the growth chambers). John was able to create these rigs in less than a day after I described them to him, so if you’re thinking of starting a hydroponics project, you should consider having him do the work for you. He charges a small amount, and does the work very quickly. He’s also a very nice guy.
The rigs are based on a design that is pretty common in the world of hydroponics. The version described below is similar to one developed at Duke University by Jessica Selby and Kevin Wright (John Willis Lab). The idea is to suspend the roots of the plant in a nutrient solution, and provide oxygen to the roots via bubblers. As Greg says, the method requires development. However, it appears to work well for sunflowers (not so much for my plants). Anyway, here is the basic process of constructing the rigs.
Required materials:
1) Bubble-tea straws (order on Amazon or Ebay; get the ones with 1/2 inch diameter).
2) 2.0 mL centrifuge tubes, caps removed.
3) Mineral wool (you only need a few grams of this).
4) Perlite (I use only the small particles, which I remove using a wire mesh screen).
5) Plastic dish tub (I use ones made by rubbermaid; see below).
6) Solid foam block or plate, to float in the solution; about 1.5 inches thick.
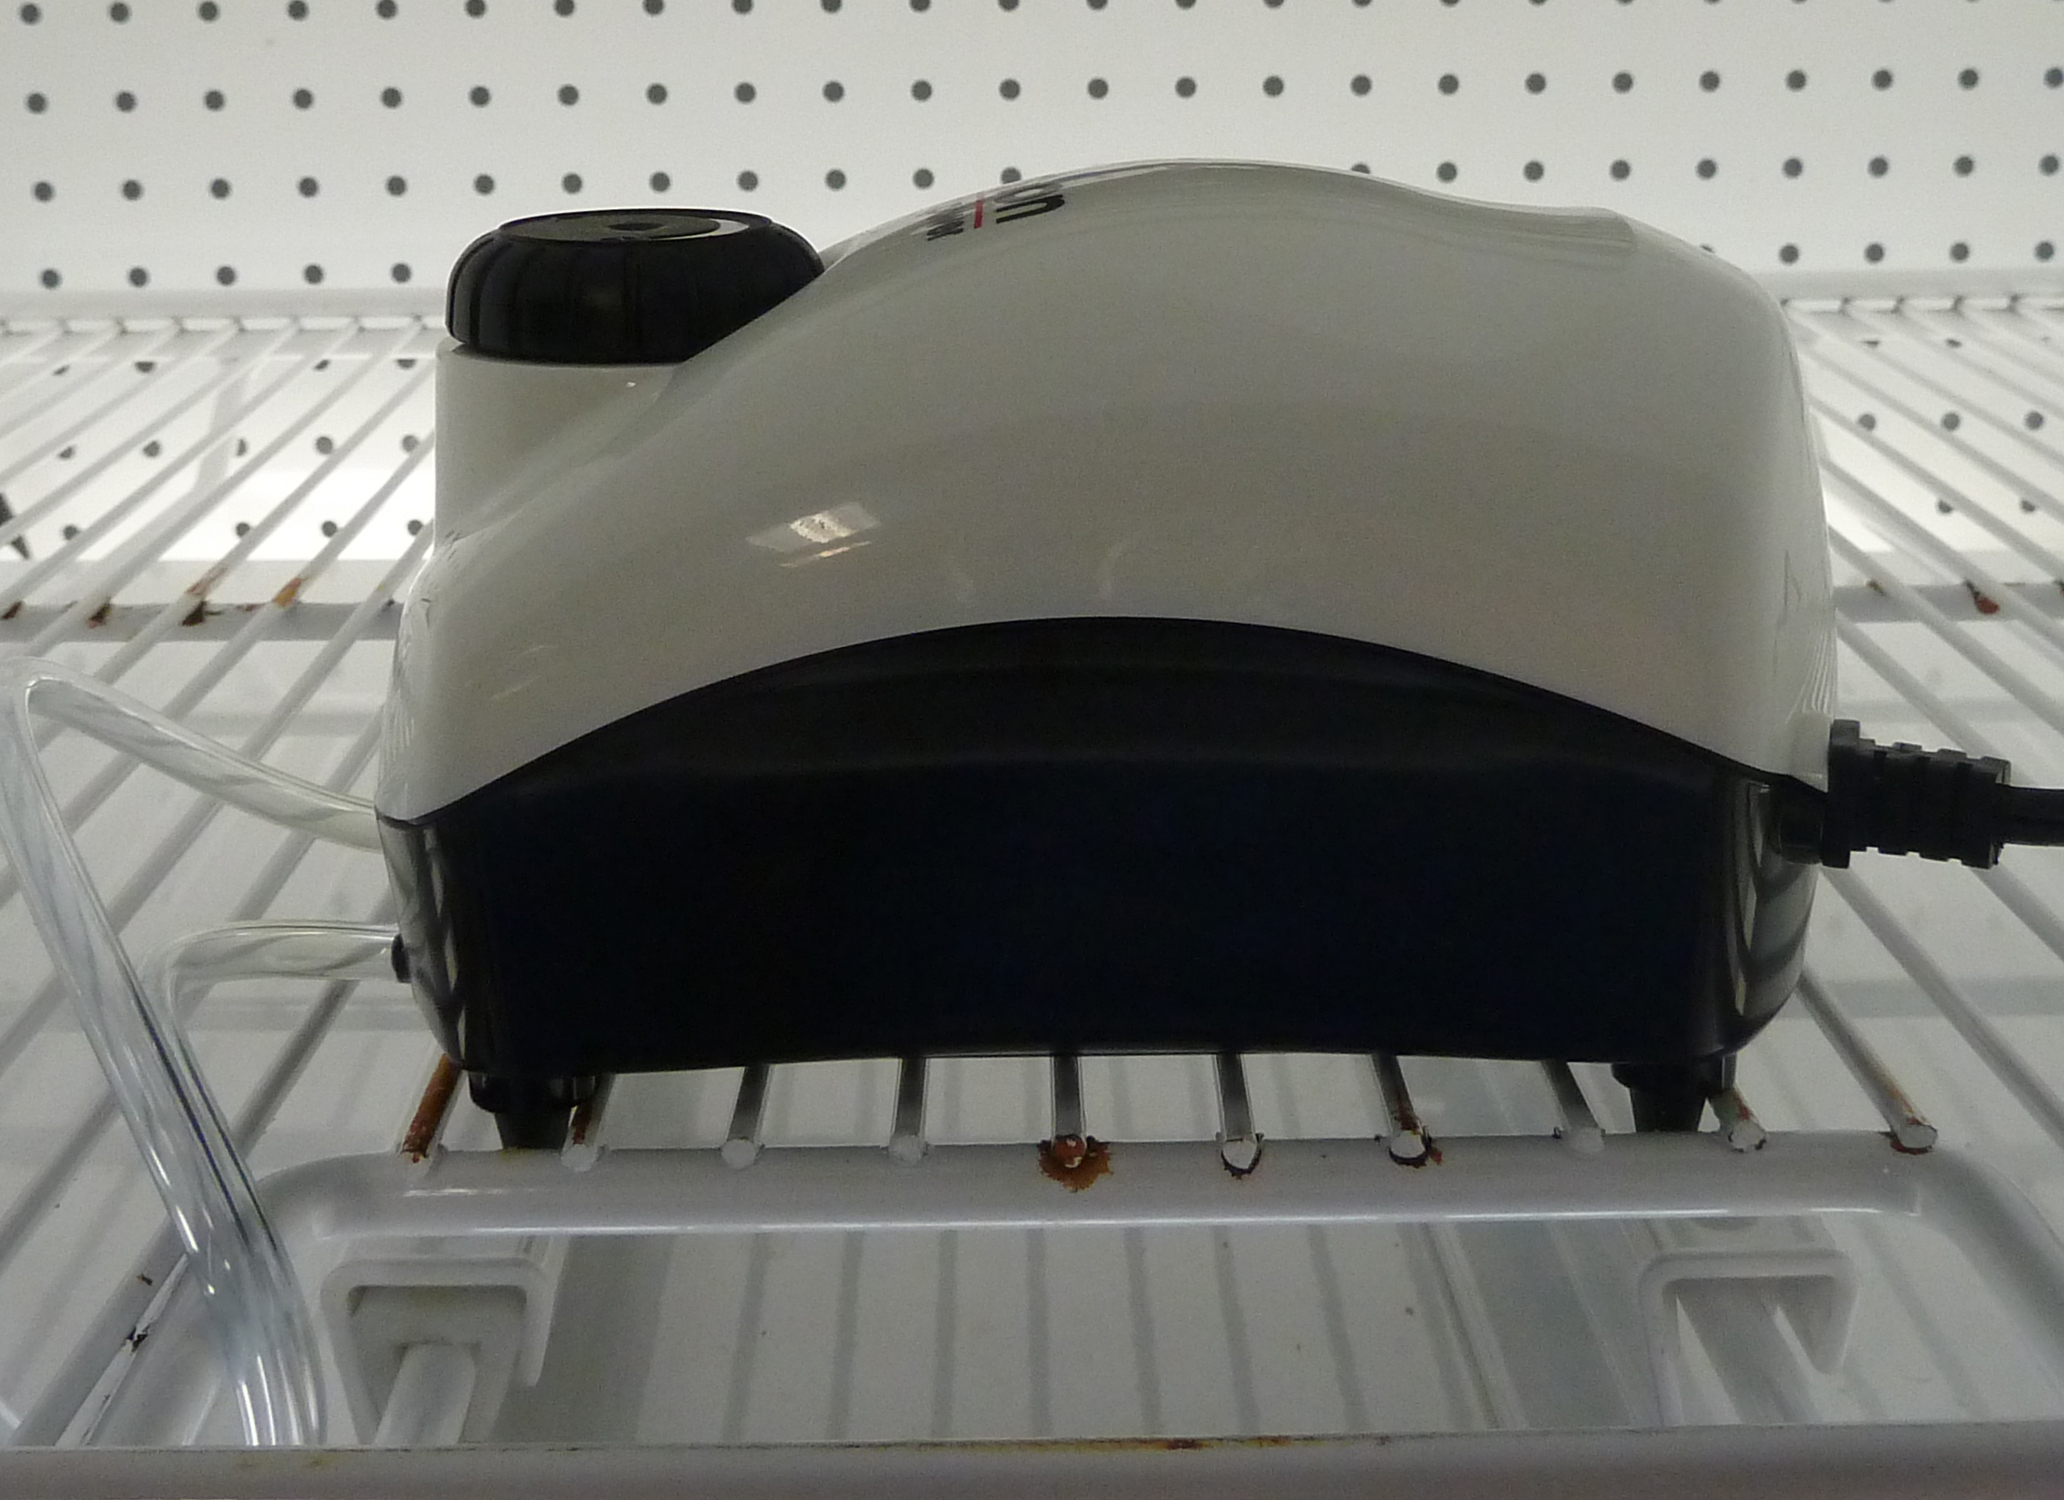
7) Fish tank pump (I use a powerful one, with multiple outlets; see below).
8) Airstone and length of plastic tube (calgon tubing) to supply air to the tank.
Creating the rigs:
Almost all of these items are things that you can pick up locally. At a pet store, you should be able to get the pump, airstone, and tubing. The perlite and mineral wool should be available at a garden supply store. The 2.0 mL centrifuge tubes are usually abundant in genetics labs, and are very inexpensive. The plastic tubs can be found at a most hardware stores, and pretty much any size can be used; just cut the foam to fit. The most important thing is to get a tub that’s opaque, so that algae don’t grow. The foam block and the bubble straws are probably the hardest part of this setup.
For the foam block, you can use any styrofoam that comes in a relatively thin plate. For the first rig that I made, I cut up the lid of a foam box used to transport lab reagents. But foam sheets can also be purchased from hardware stores. For the later versions of the rigs (see below), I used a high-density foam that John Gourlay had on hand. This foam has the advantage of being opaque, and also easier to work with; you can drill through the foam without creating a lot of messy particles.
Here are the steps to create the rigs:
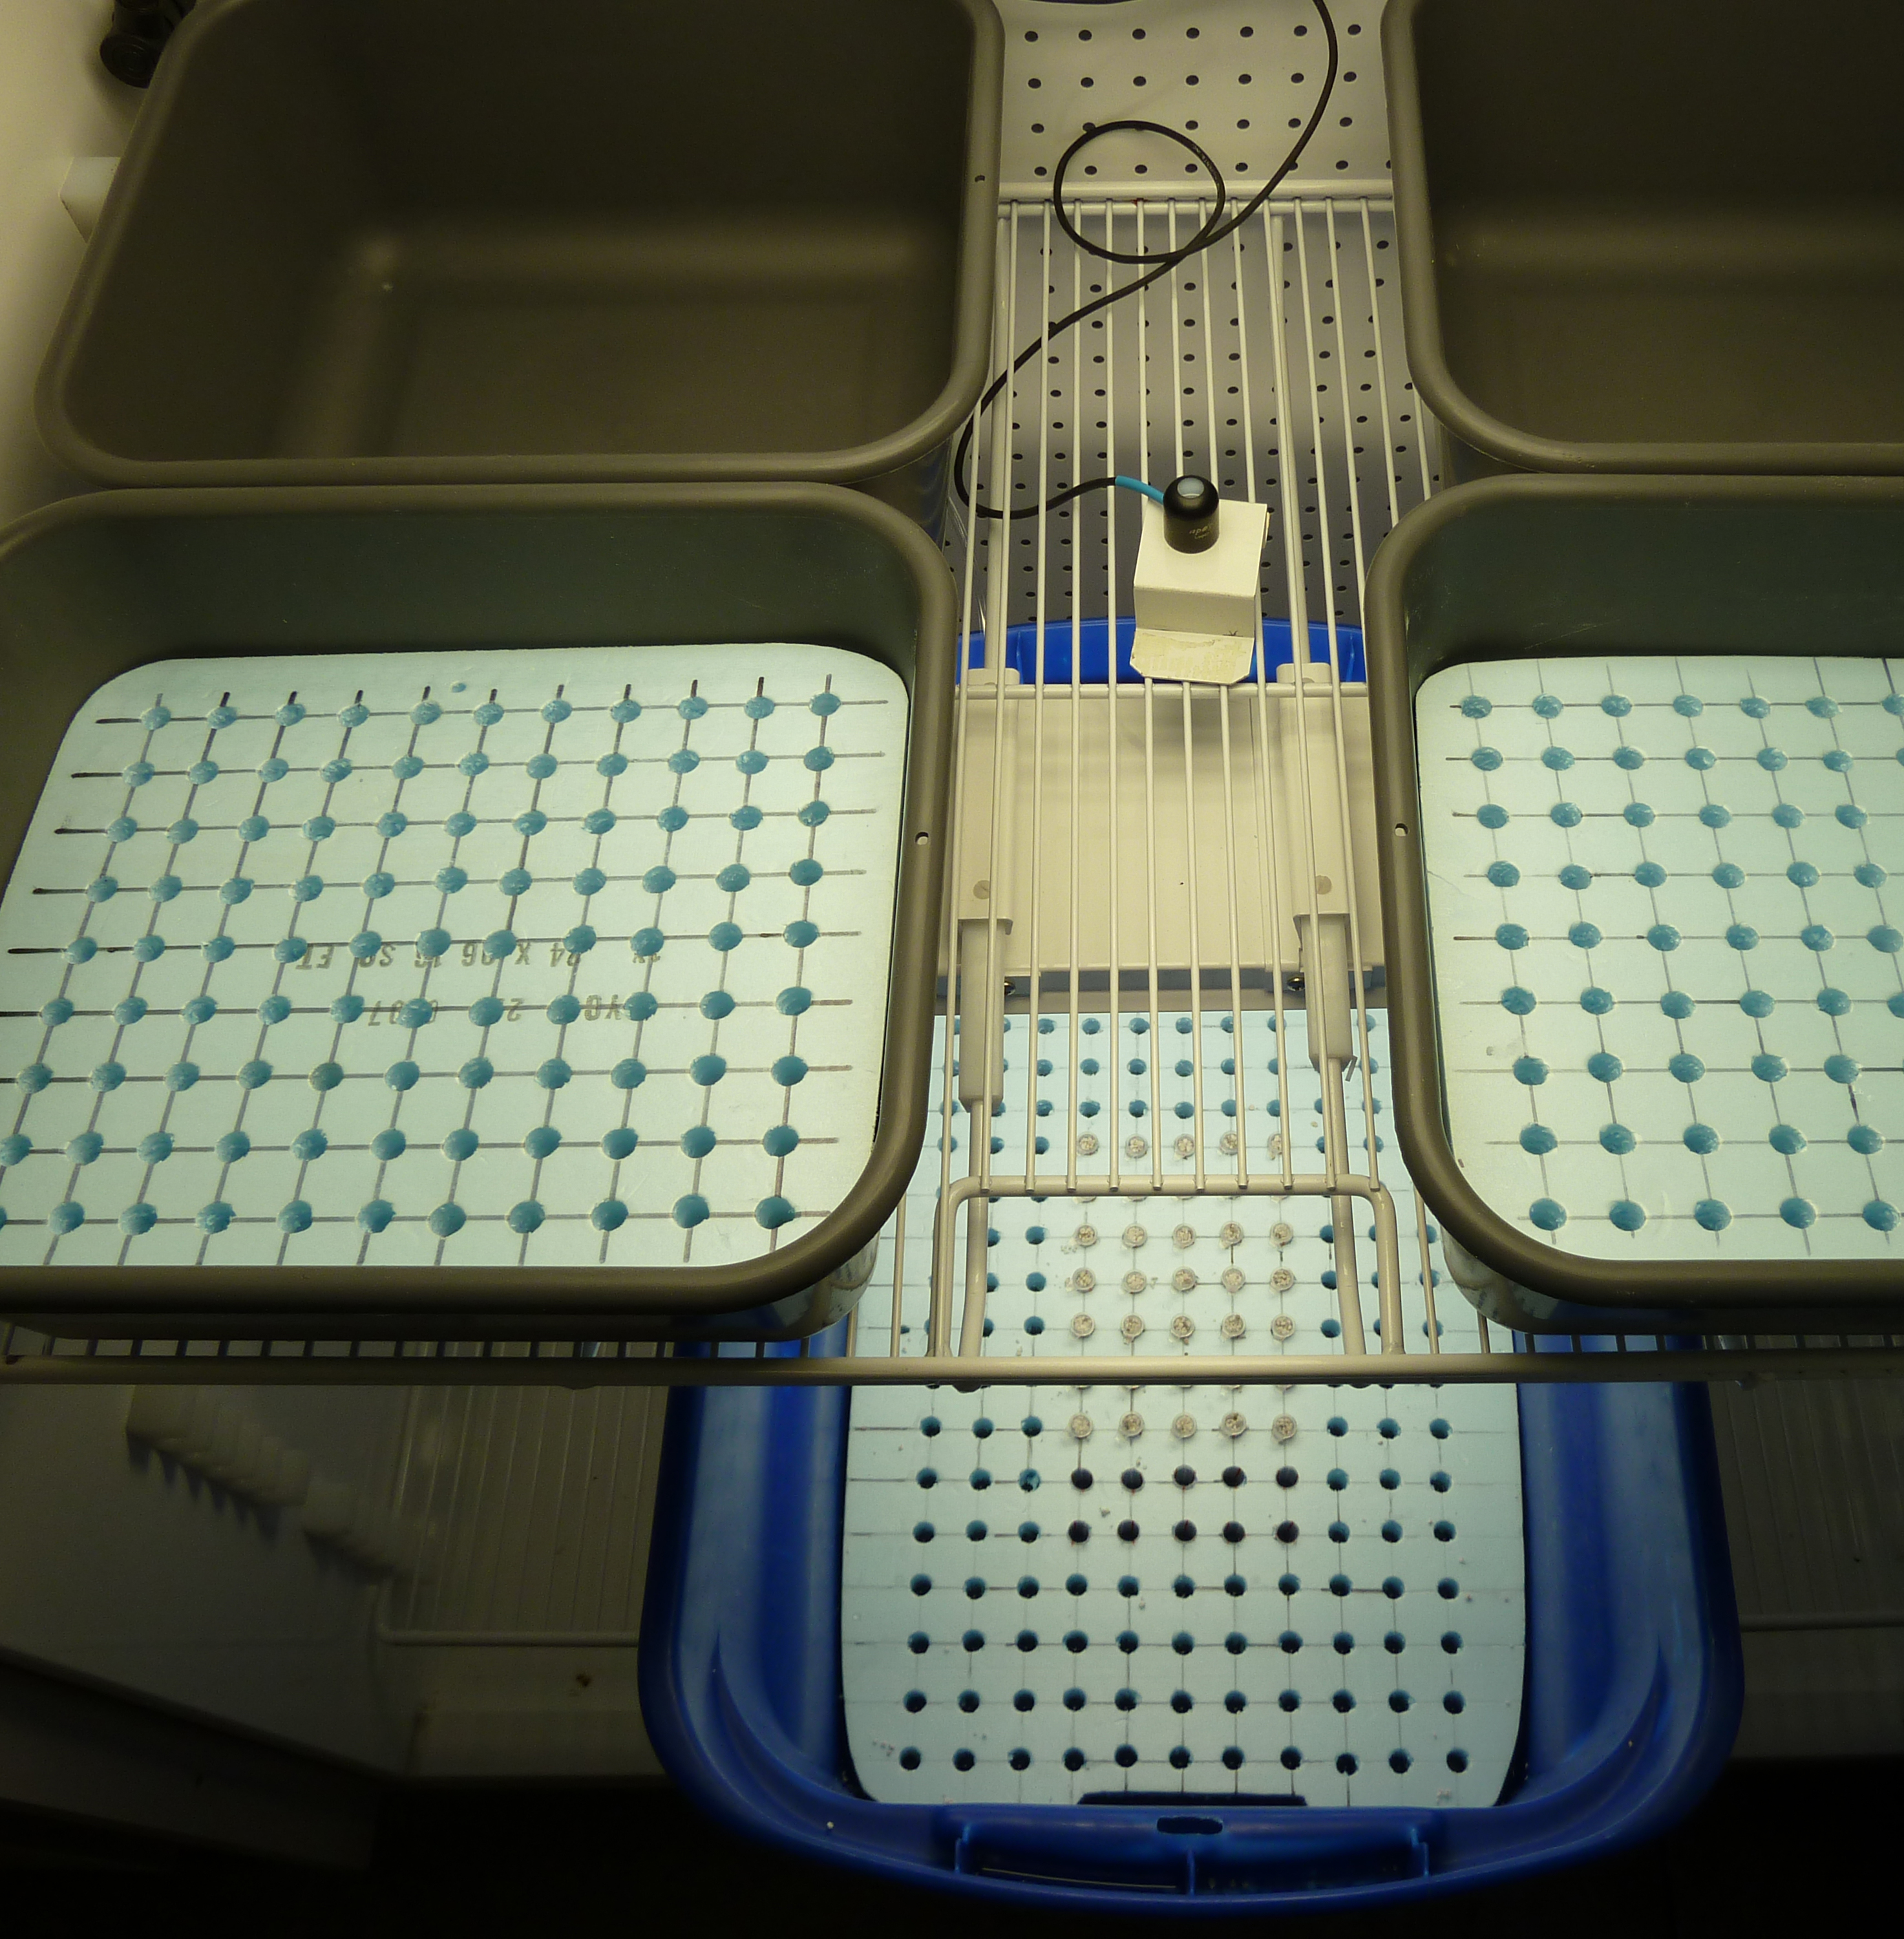
A) Create floating bed: cut the foam to fit the size of the plastic reservoir using a box cutter or a band-saw. Then use a drill-press or a hand-drill to add holes for the plants to be placed in. The idea here is to create a passage for the bubble straws (see below), so the holes need to be a little less than 1/2 inch in diameter. Experiment with drill bits to get the right diameter.
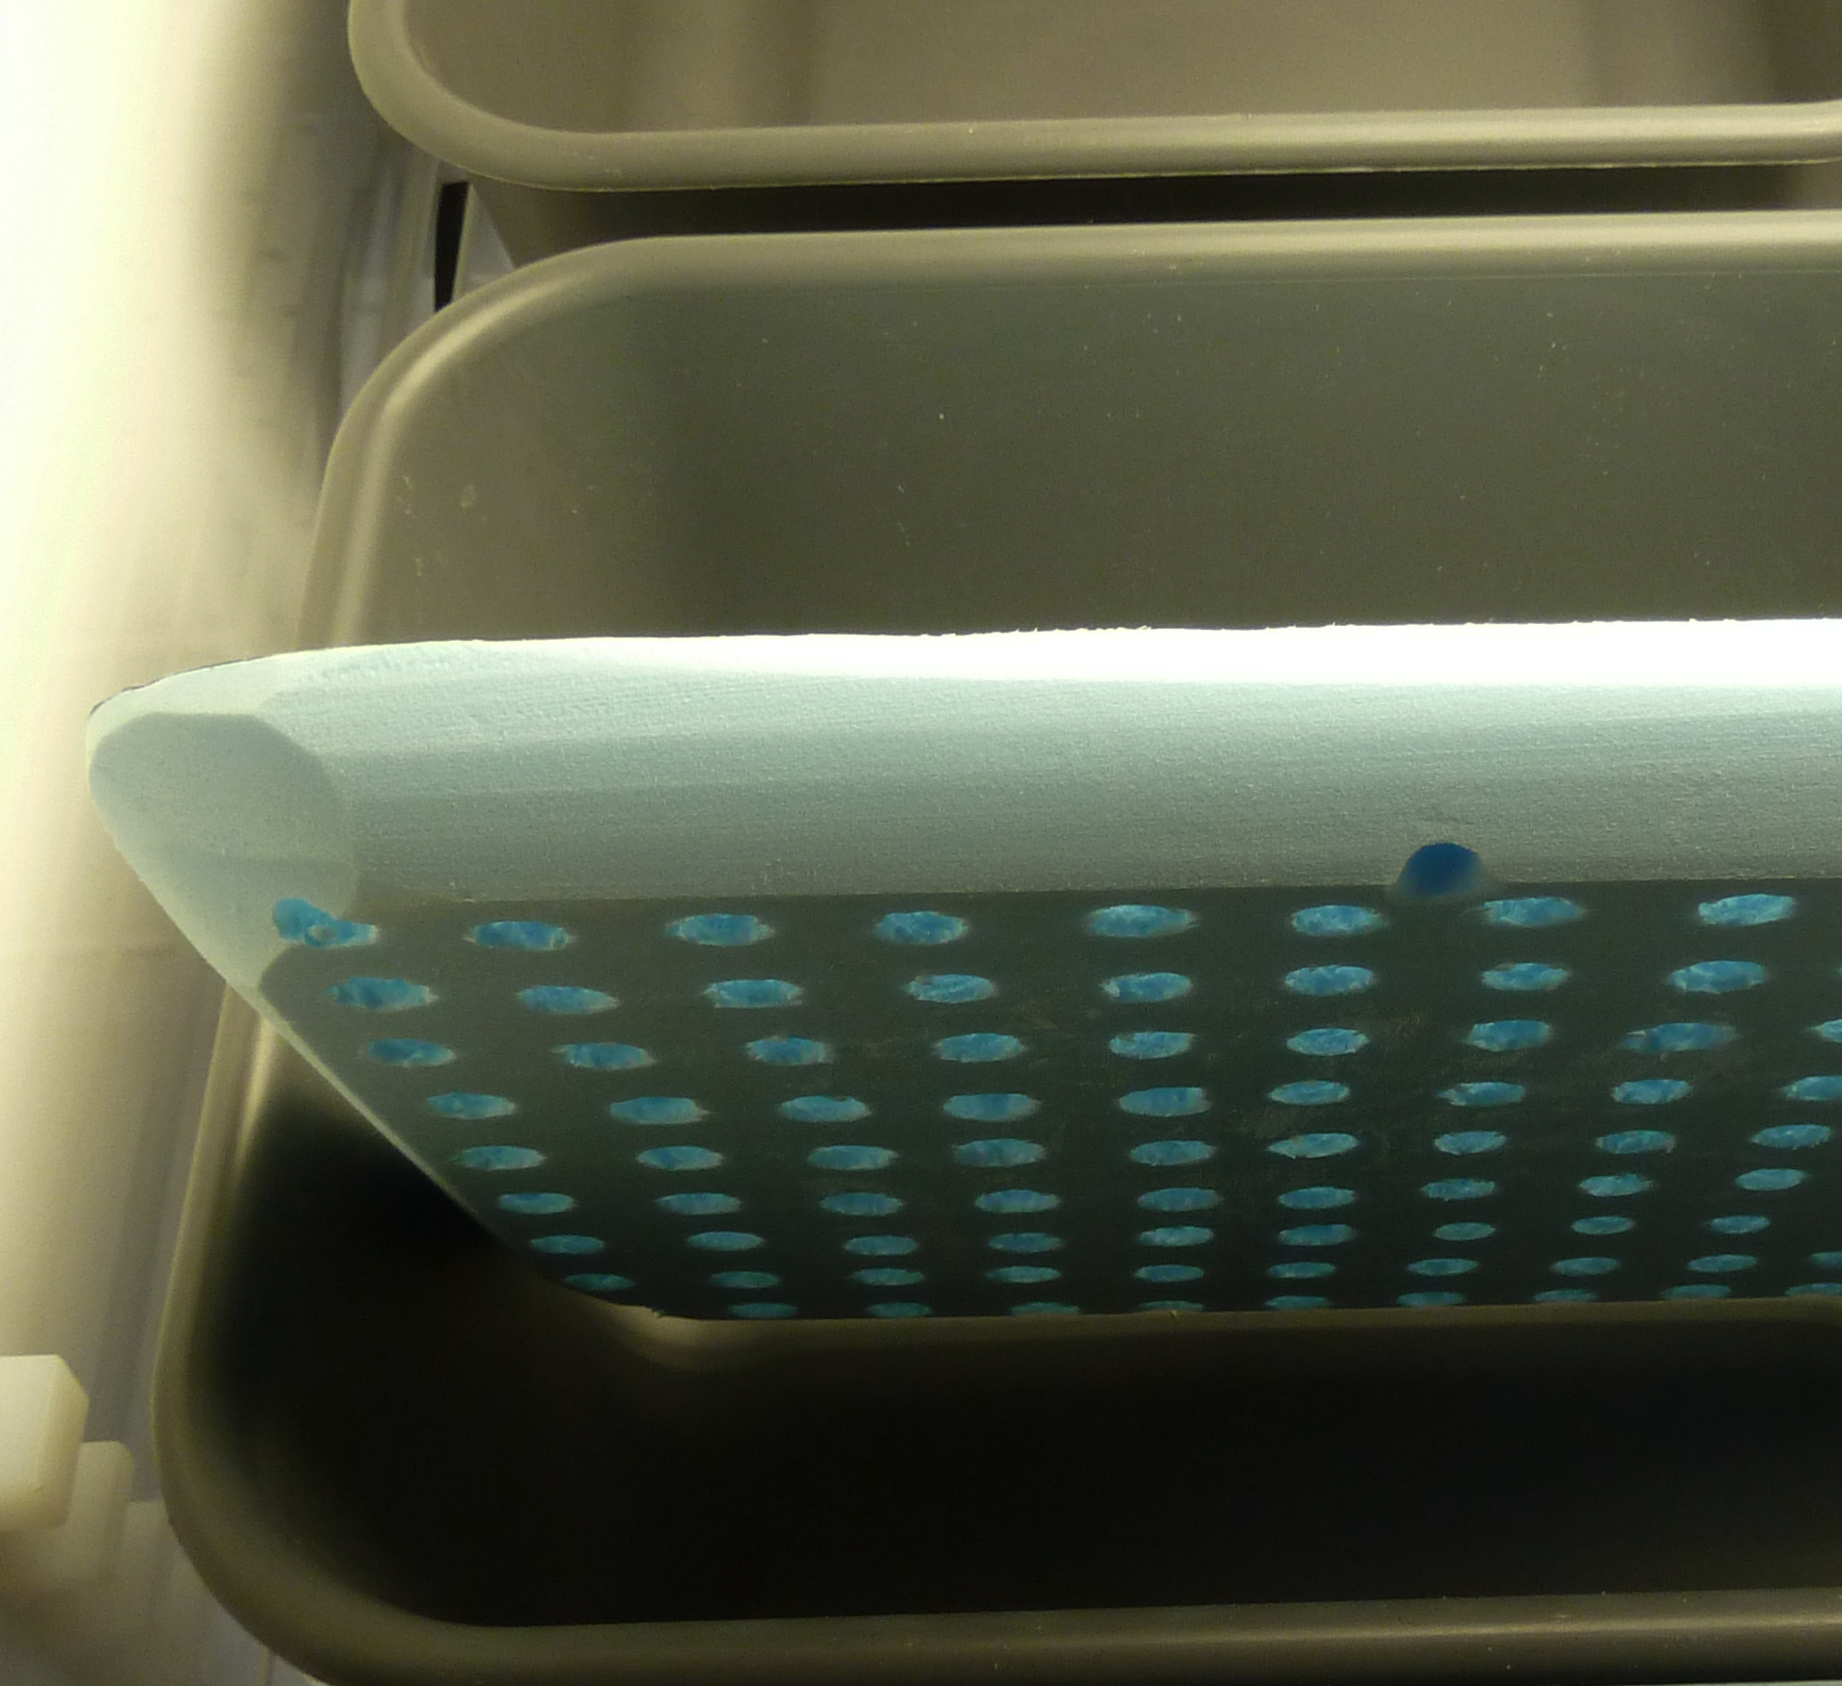
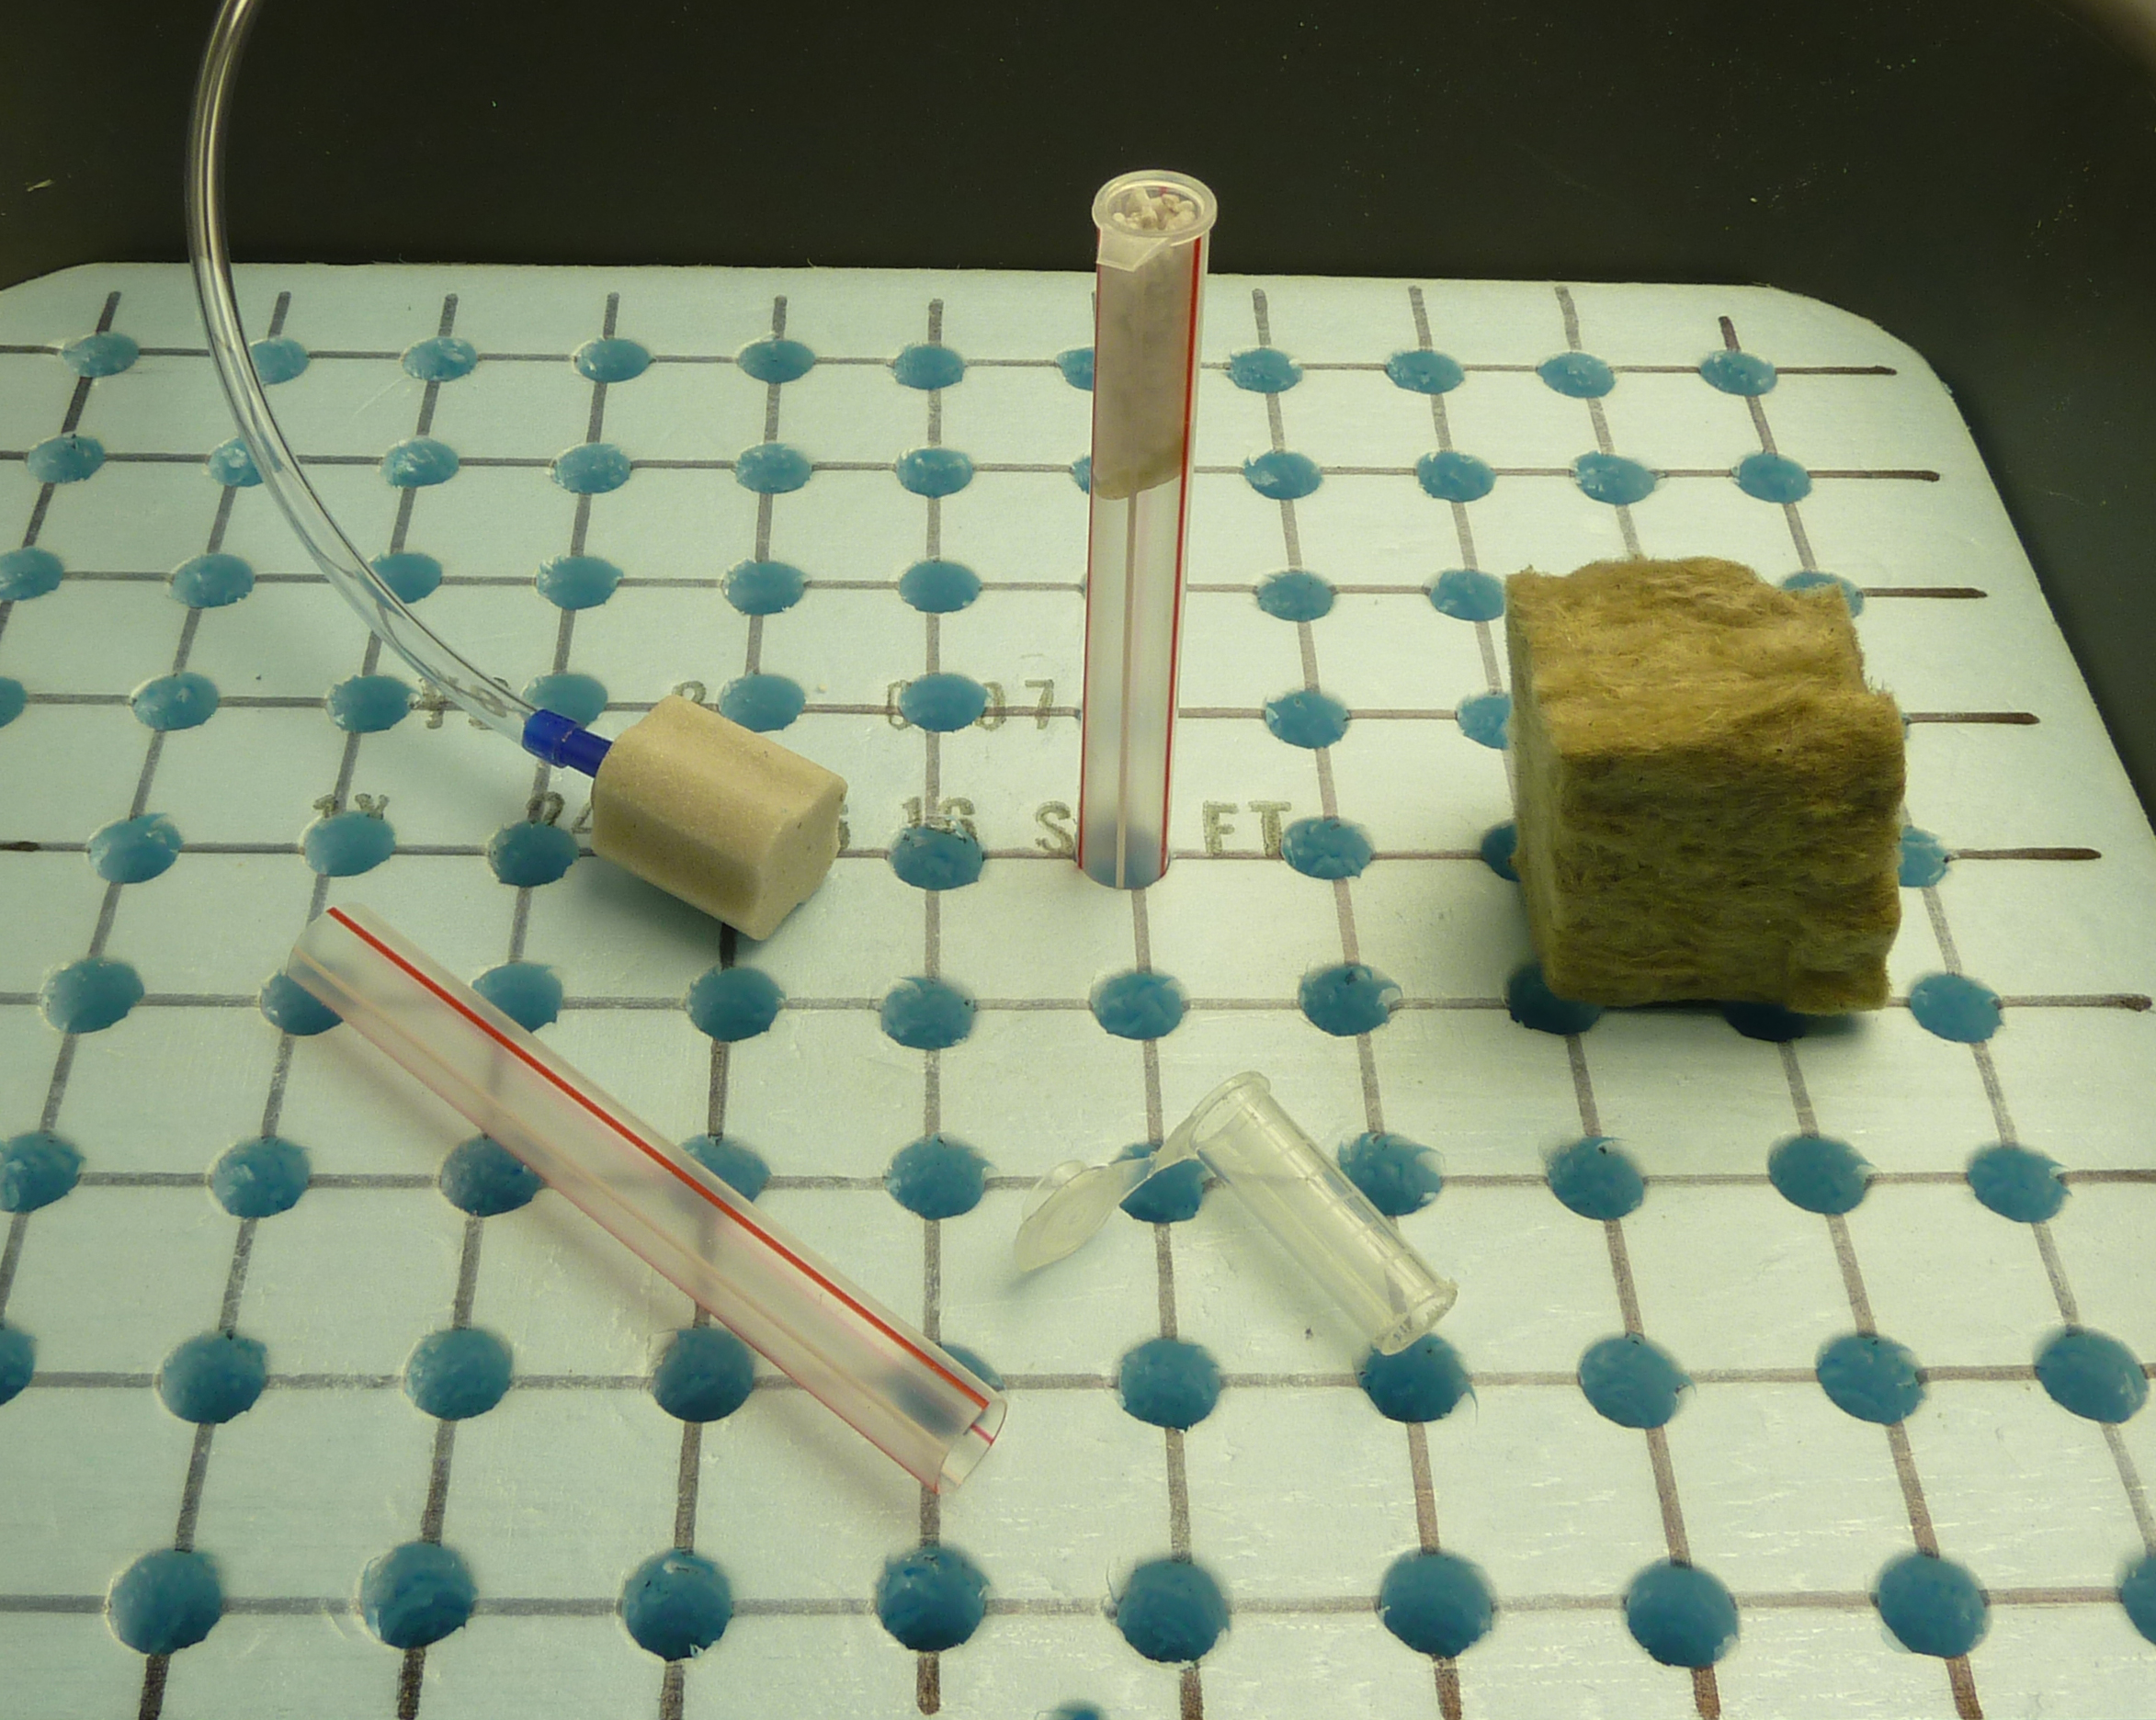
B) Add straws: cut the bubble straws in half, and shove them through the foam block until the top is flush (or nearly flush) with the top of the foam block (see below).
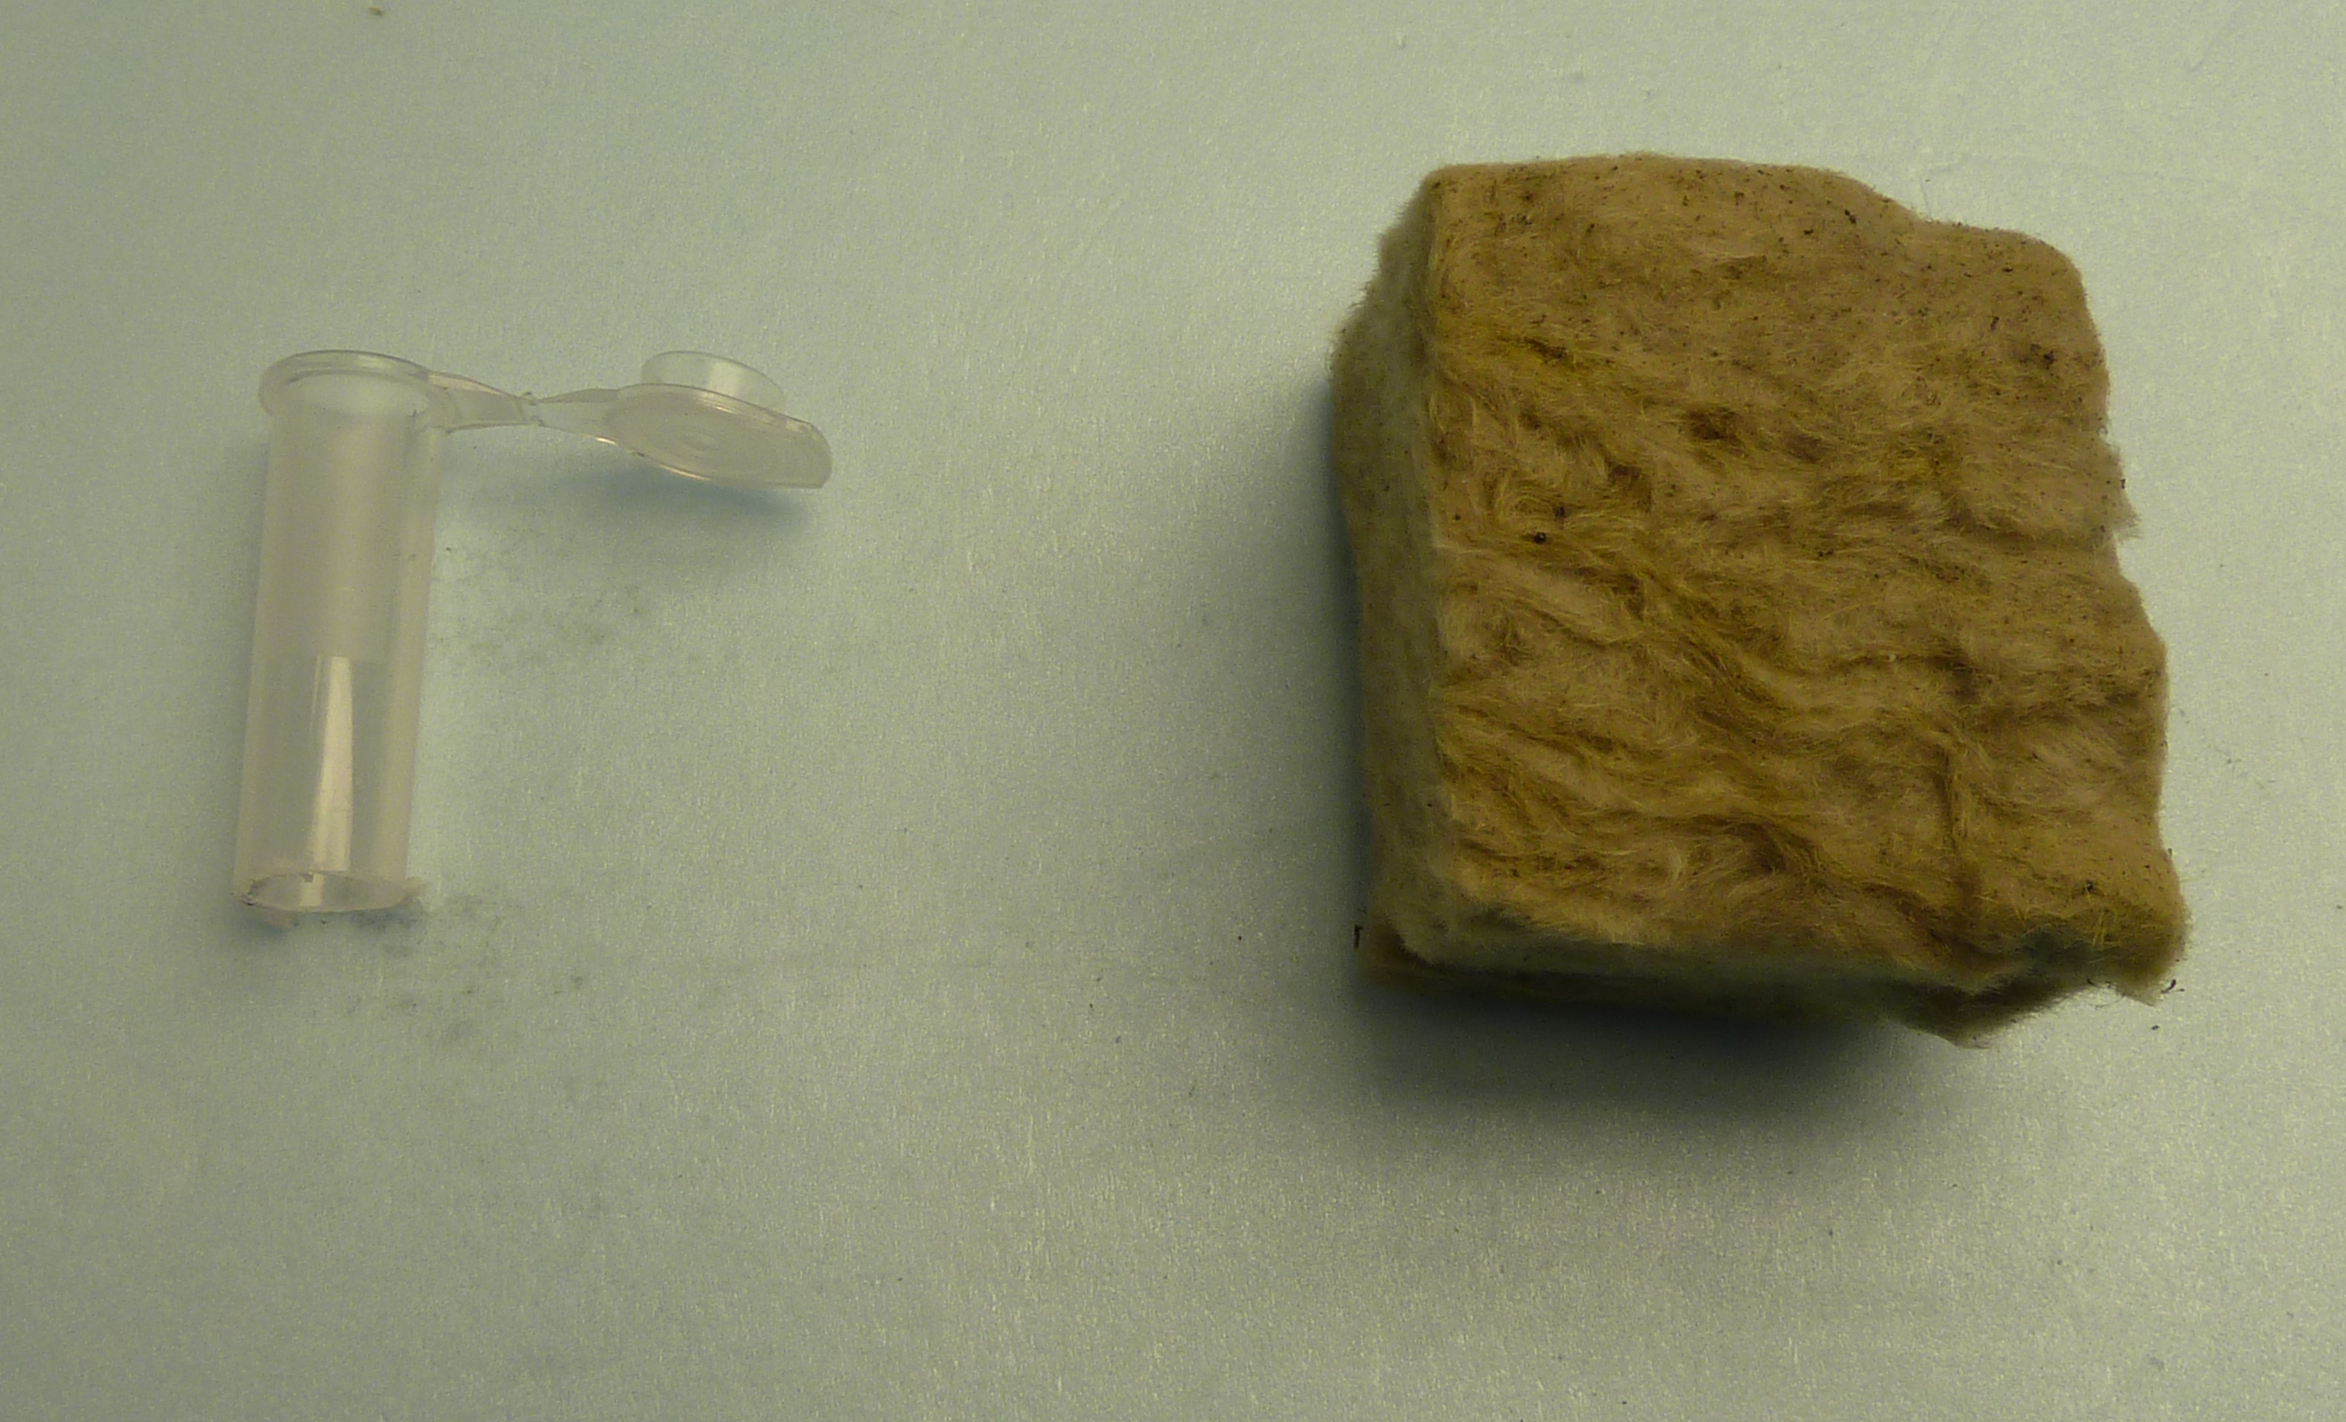
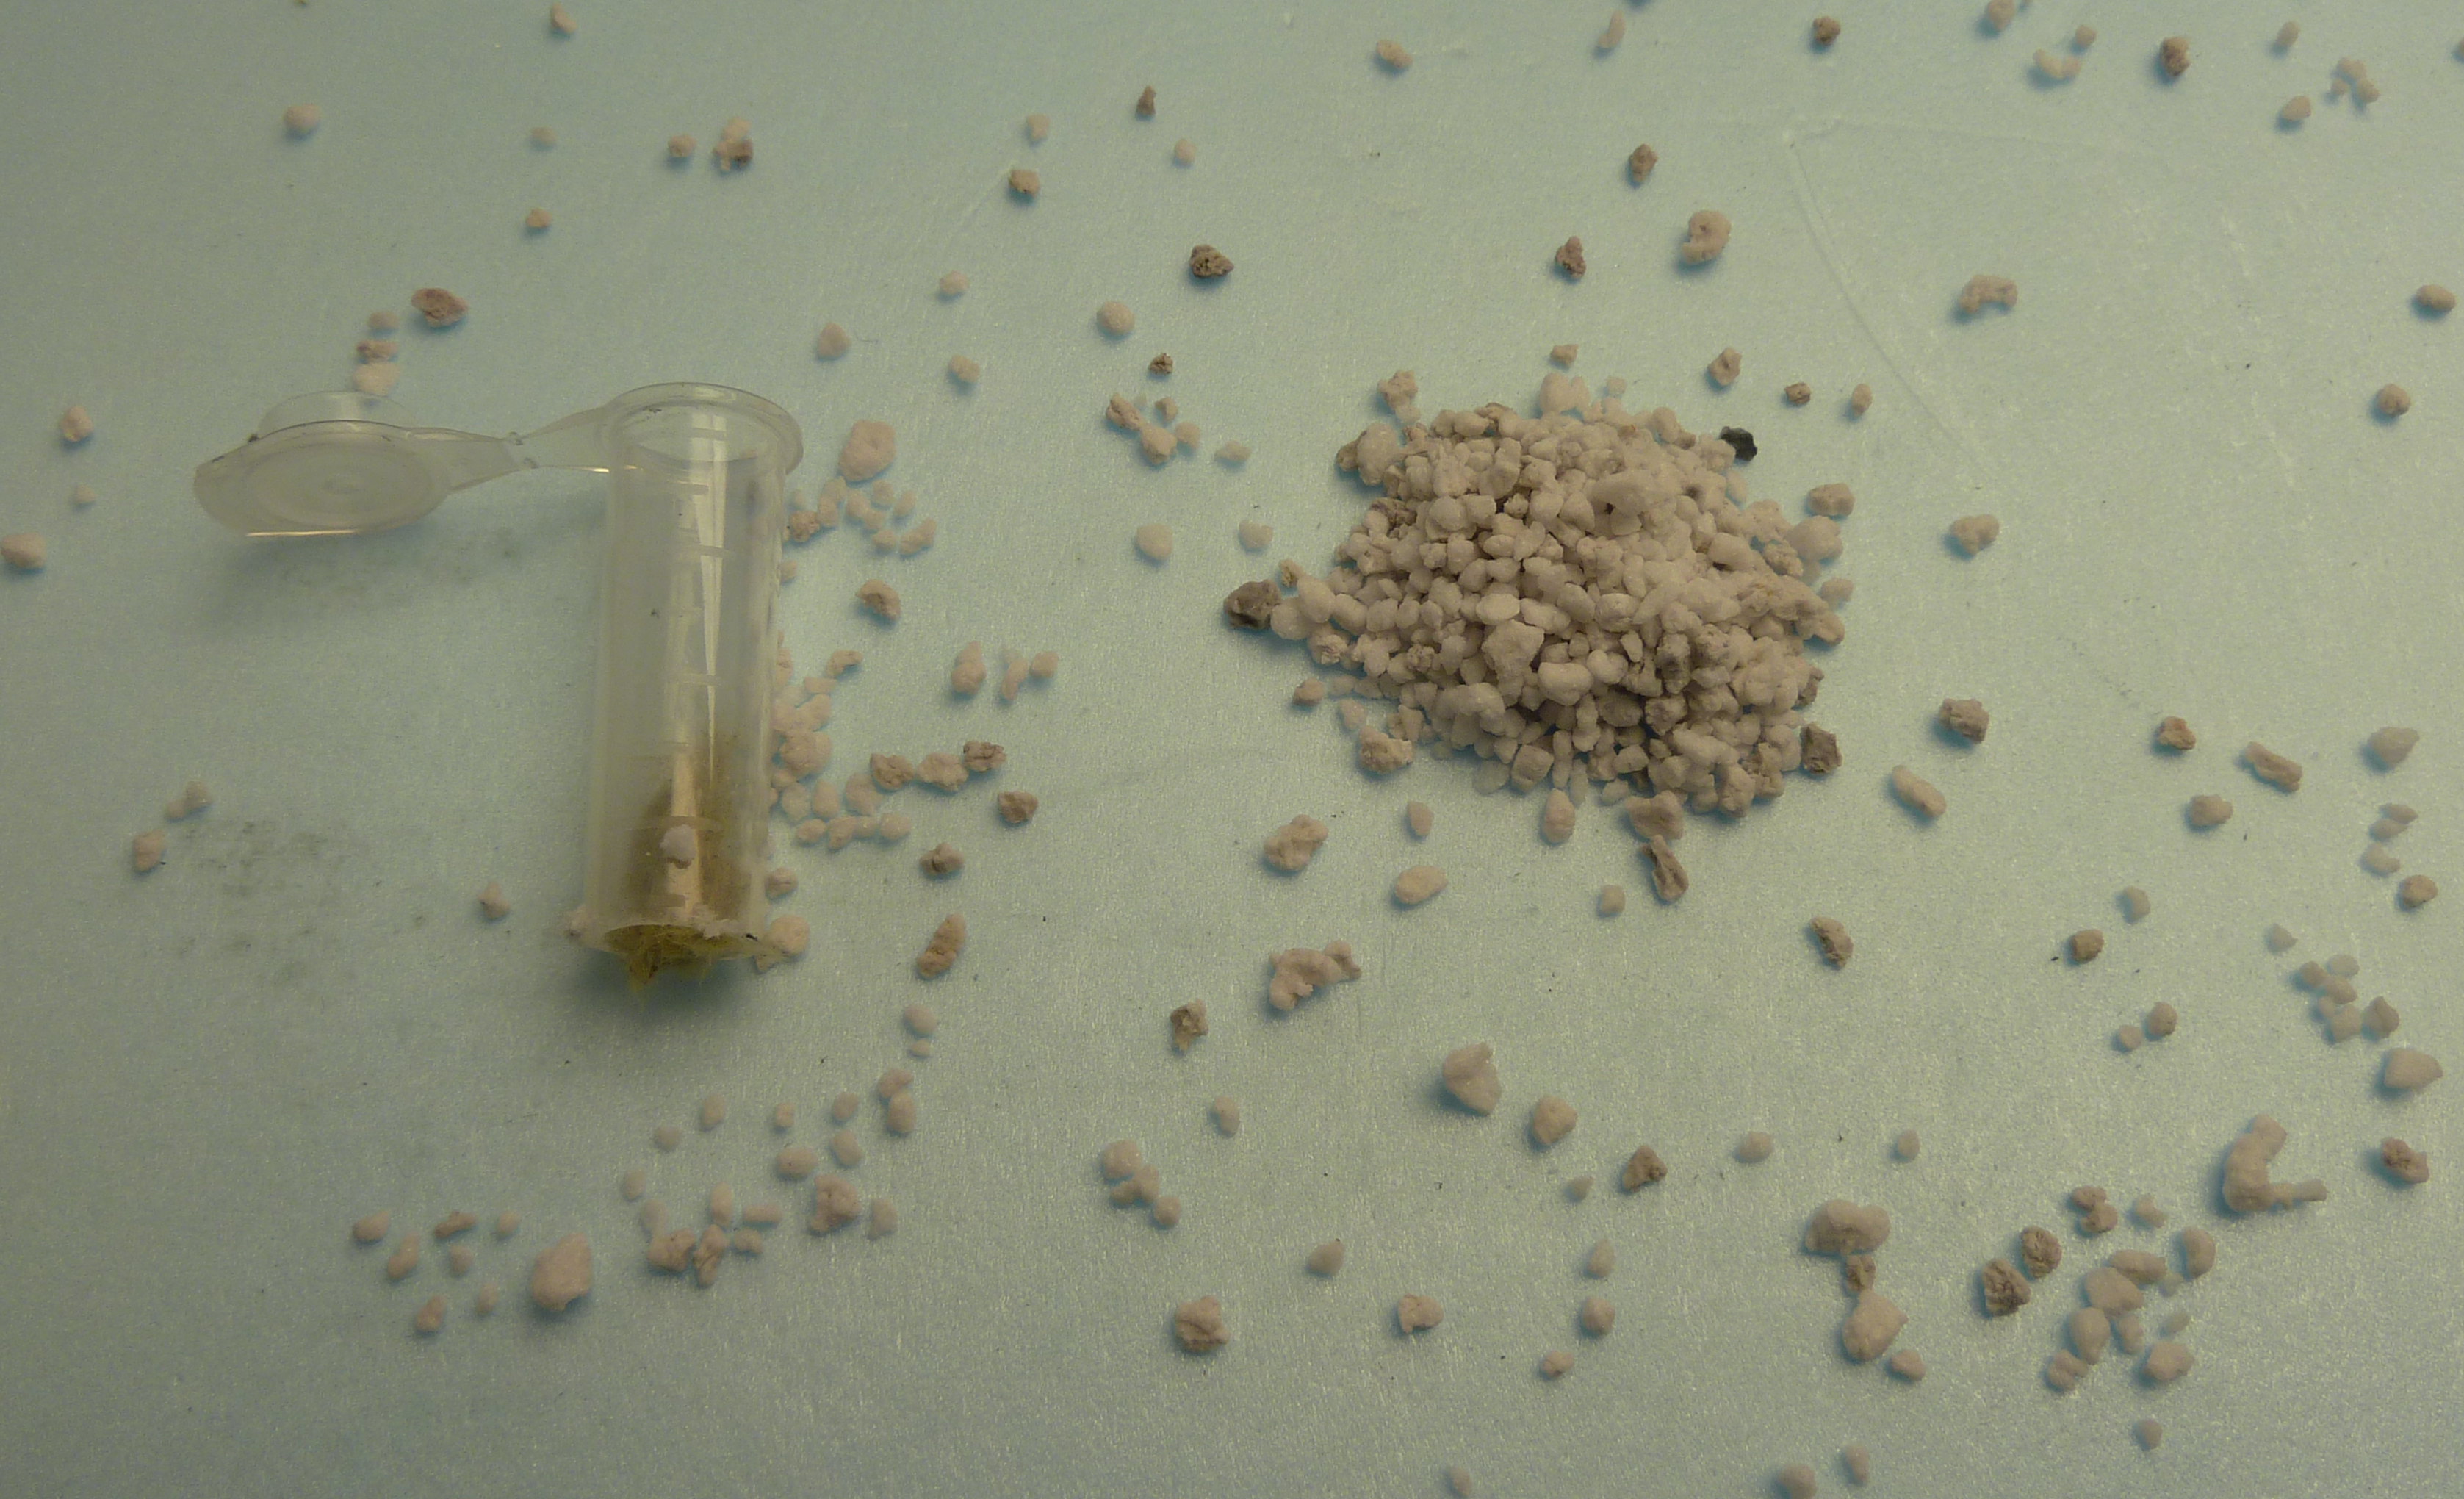
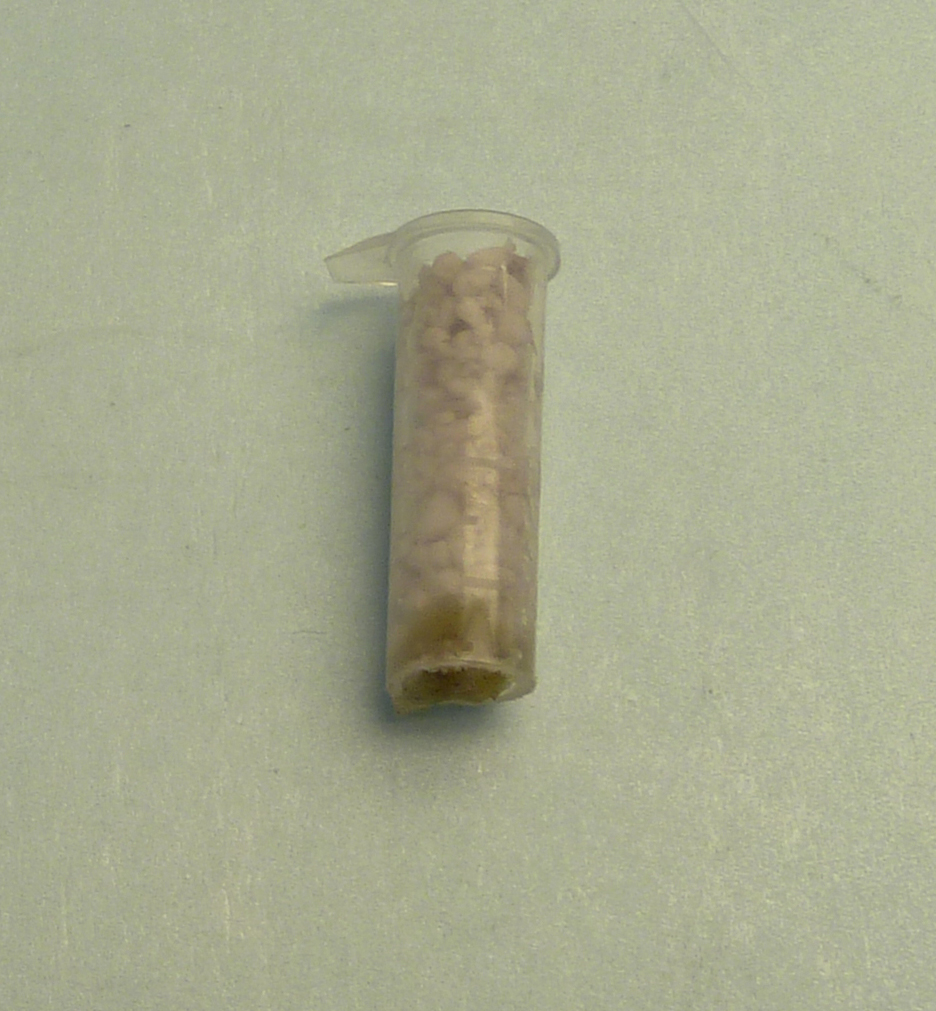
C) Add tubes: this step is kind of complicated, but the idea is to take a centrifuge tube, cut the bottom off, stuff the very bottom with rock wool, and then load the top with perlite. You can cut the tubes using a band saw or a box cutter. I use forceps to stuff the rock wool, and then add the perlite using a spoon or just my hand. Then slide the tubes into the open ends of the bubble straws. Here is the sequence:

D) Adding aeration: the roots of the plants are going to be suspended in liquid, so the liquid should be aerated. I placed the pump for my rigs on the top shelf of the growth chamber, and then used the plastic tubing to pipe the air down to the reservoirs. It’s very important for the pump to be placed above the level of water in the reservoir, or you run the risk of a back-up that could short out the pump and/or electrocute you (!). I added the airstone, and just placed it on the bottom of the rig, directly under the foam plate:
D) Nutrient Solution: the recipe for your nutrient solution is a major consideration, and depends on the experiments that you aim to carry out. For basic plant growth, you should aim to add a minimal amount of nutrients, using a dilute fertilizer. Many commercial fertilizers can be used for hydroponics, or you can make your own solution using laboratory grade chemicals. I would recommend starting with a low level of nutrients, and then build from there. The other important problem is pH. Try to keep the pH at around 5.5, and certainly below 6. I use dilute NaOH and HCl to adjust the pH. Other possible additions include buffers, fungicides, antibiotics. Again, there is a lot to consider here, and much depends on the questions of your experiment.
E) Complete the rigs: the rigs are complete once you fill the reservoirs with your nutrient solution, drop in the plate with its tubes inserted, and turn on the bubbler. The perlite will naturally become saturated with water, and you can plant your seeds or small seedlings directly into this perlite. I germinated the seeds on a petri plate, and then transplanted the seedlings to the tubes. As described in more detail in Greg’s post, the plant’s roots will grow through the perlite, penetrate the rock wool, and continue growing into the solution below. They may or may not be contained by the straws:
Let me know if you have any questions!